Six months of this...
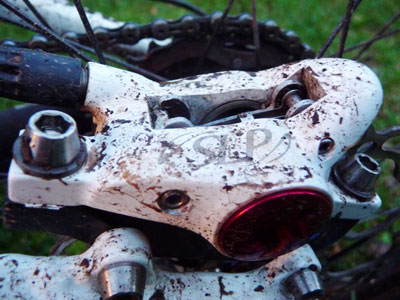
...has required a total rebuild of the front caliper and master cylinder.
A certain sign that a caliper rebuild is required is when your brake pads wear unevenly. This suggests that one of the pistons is sticking. When you get a set of pads that look like this, then its time to pop out the pistons, check the seals and fit new ones or regrease the old ones.
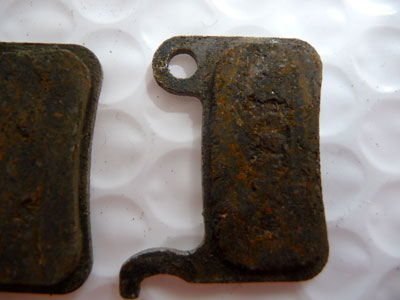
The pad on the left has less than 0.5mm wear on it. The one of the right is worn down more than 1.5mm and its also worn on an angle. This is caused by one piston sticking and all of the movement coming from the other piston. This in turn requires the rotor to bend slightly to move over onto the other piston which is why the pad is worn unevenly.
Note - Don't use any old grease
Companies like PBR make a specific "rubber grease" for lubricating brake piston seals. Only use this type of grease. Other greases may not be compatible with either the rubber seals or your brake fluid.
Taking it apart
There's nothing rocket science about the Hygia SLP's. No special tools are required for complete disassembly but there are a couple of little tricks that make things slightly easier.
Master cylinder disassembly
- remove brake pads;
- use a screwdriver or suitable thin object to hold the outboard piston in (the one on the same side as the brake line). Pump the brake lever to pop out the inner piston;
- remove the reservoir cover (4 small allen bolts) taking care not to damage the rubber membrane - it separates your brake fluid from the air and provides the expansion in the system as your brake pads wear and the fluid level on the reservoir drops;
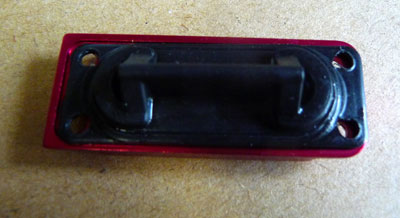
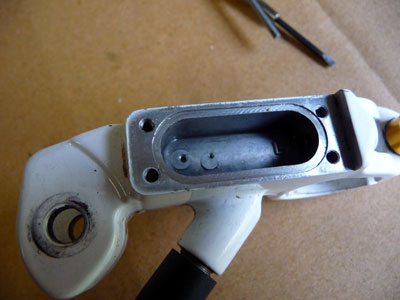
- remove the brake lever;
- remove the master cylinder piston - if it doesn't come out by itself, a little compressed air on the larger of the two fluid path holes will pop it out. Wrap everything in a rag to stop brake fluid going everywhere and the piston launching into orbit;
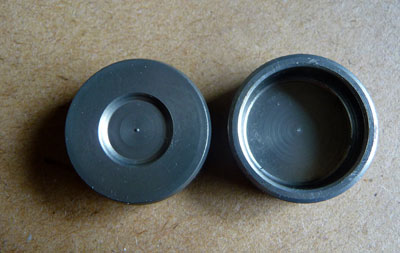
- remove the brake line from the caliper and use compressed air to force the outboard piston out (the one on the same side as the brake line). If you do this in the opposite order it will be impossible to blow the piston out;
Servicing
Clean and inspect all components. Replace anything that looks damaged or suspect. Blow out all the passages with compressed air to remove any particles or contaminants.
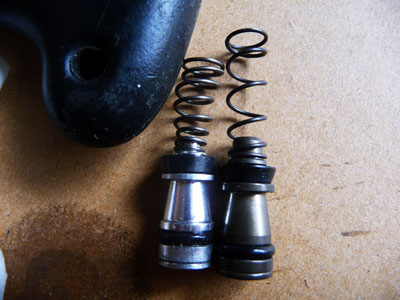
All my seals were still in good condition, but the master cylinder piston was starting to scuff due to the ingress of dirt into the outer part of the master cylinder bore. You can see the marks on the one to the left in the picture below. I replaced the original master cylinder piston with one I ordered as a spare part from the Hygia online store.
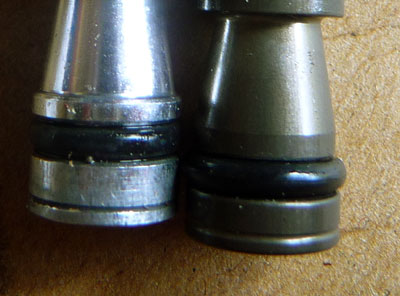
The newer piston has the same overall dimensions but the design is slightly better. The spring is also better than the original design which had a tendency to "coil bind" if the lever throw was adjusted incorrectly. The new spring has fewer coils so you'll get less chance of binding at the extremities of compression.
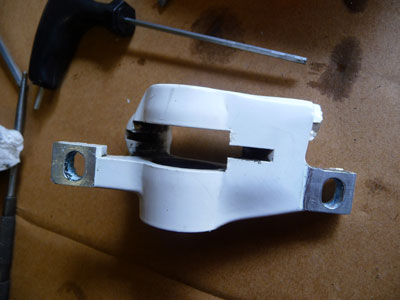
One additional thing that I did was to face the calliper mounts. On the SLP's the entire calliper has a fairly thick coat of paint. The paint is not as true a mounting surface as the machined aluminium below. Clamping the caliper onto the fork post-mounts had already started to flake the point. I removed the remaining paint and checked that the mounting surfaces were flat and in the same plane.
Assembly
Basically the reverse of disassembly. Grease the rubber calliper and master cylinder piston seals with rubber grease.
Finish with a brake bleed before mounting the system back on the bike as its easier to hold the components so that all the air comes out.