The bearings in hollowtech II and similar bottom brackets are described as "not user serviceable" and not user replaceable but with a little bit of bush ingenuity it can be done with as little as a bench vice and appropriately sized circlip, washer and sockets. If your bearings just need a re-grease then have a look here for how to disassemble the bearing seals to repack them with grease
The best and easiest approach is by a specific tool like this one from Real World Cycling . If you don't want to spend the $120, there are cheaper, although less straightforward approaches.
Step 1 - disassembly
- remove the left crank arm;
- remove right crank arm and axle;
- remove outboard bottom bracket bearing cups.
Step 2 - prepare bearing cup
- remove bearing seal - pry it off using a small flatblade screwdriver;
- remove inner bearing seal ring.
Step 3 - press out bearing

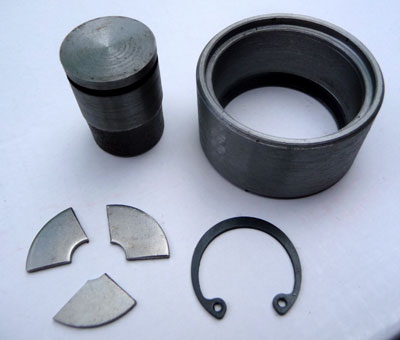
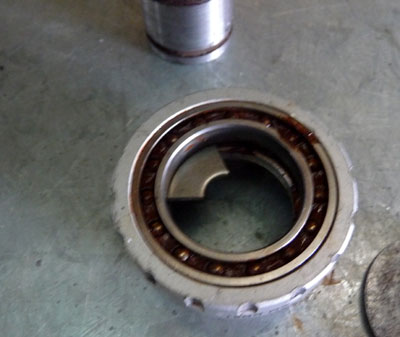
There is a small gap behind the bearing about 0.75mm thick. You can insert an appropriately sized circlip into this slot and push against the circlip to move the bearing out enough to get something more substantial in behind it and press the bearing out the rest of the way.
In my case, I turned up an appropriately sized mandrel to fit inside the bearing inner race and push up against the circlip. Once I had moved the bearing out about 1mm, I then inserted behind the bearing three segments of a large flat washer that I had cut up. The same mandrel could then push against those washer segments and get the bearing all the way out.

I also turned up a "cup" which would hold the bottom bracket cup and allow room to press the bearing out.
Step 4 - press in the new bearing
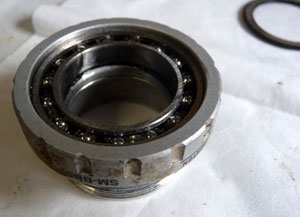
Pressing in the new bearing did not present much difficulty at all. I was replacing the standard bearings with some bearings that I got from Real World Cycling which are slightly wider than stock. Even so, the bearings needed to be pressed in slightly below the outer edge of the bottom bracket cup. I used the shell from an old bearing for this.
