Remove the old stickers from the part. Take care and you can often remove the entire sticker whole. This makes things easier later on.
Scan stickers
Putting them on a piece of paper can help when you scan them
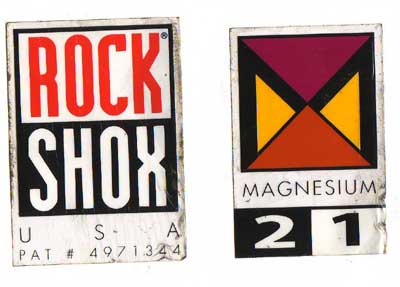
Correct the scans
I use Photoshop to rotate and then crop the scanned images.
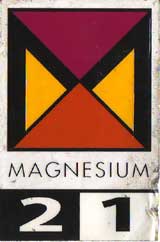
Trace the outlines
With these sorts of stickers that have blocks of flat colour, you can use a vector drawing program to draw over the top of them. Alternatively, you can use a paint program like Photoshop or the Gimp to touch up the scans. These stickers were quite distorted and the blocks of colours were no longer consistent so touching the scans up in a paint program was looking like a lot of work.
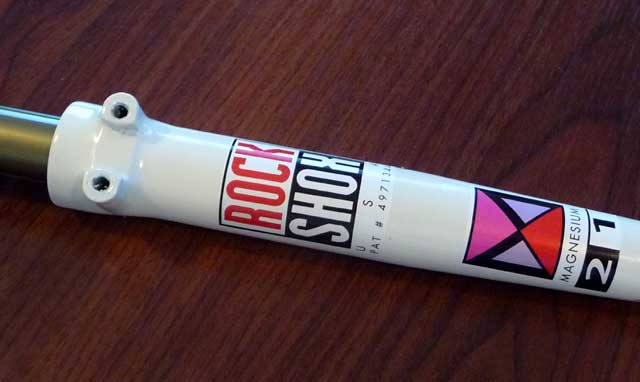
These stickers were pretty simple so it was easier to just "trace" them using Xara. Turning them into vector graphics also makes it much easier to change things like colour and size. Here I've tweaked the colours so they better match the new bike's colour scheme.
The font that Rockshox used when designing these stickers seems very similar to "Fujiyama2".
I printed these stickers on a Canon Pro9000 bubblejet printer onto ausinc A4 white adhesive labels (the entire A4 sheet is one big label). The stickers take about an hour to dry fully. These labels have a brilliant white surface that is textured so it almost looks metallic. Colours are very vibrant when printed onto these stickers and the definition is superb.
Cover/protect
Most inkjet ink is not waterproof (unless your printer uses pigment inks). You need to cover your stickers with something that is. There are two options:
- laminate your stickers by putting another clear sticker/film over the top; or
- use a clear coat spray.
In this case I used a clear coat spray called "Picture Varnish Gloss". It provides a clear, glossy, flexible and waterproof coating that will not go yellow in the sun.
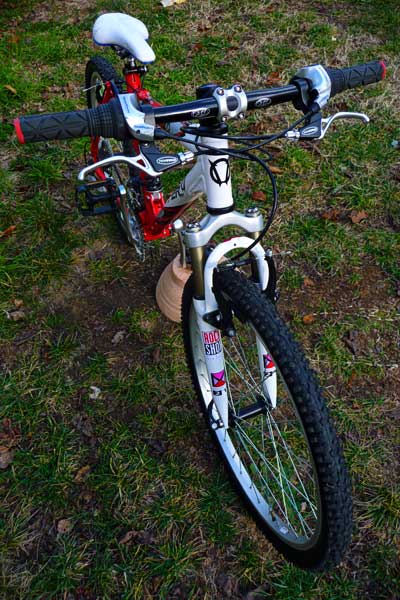
The end result
...and on the bike...