Installing the needle bearing kit is fairly straight-forward. It is pretty much the same procedure as if you were replacing the DU bushing.
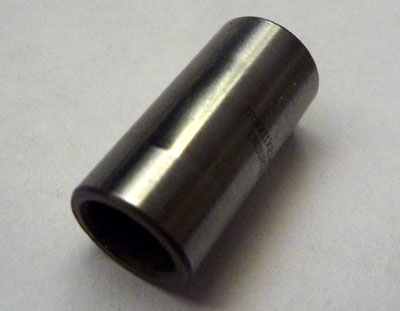
Step 1 - remove the bushing spacers
These should come out by hand, if not a little twisting and pulling with a pair of multigrips will have them out in a flash.
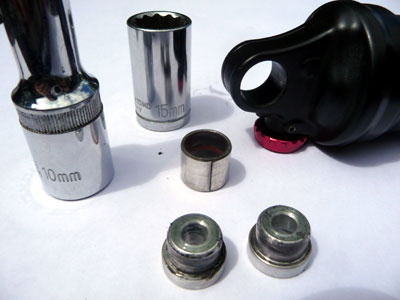
Step 2 - remove the DU bushing
If you don't have a specific bushing removal tool for this you can use a vice and couple of suitable size sockets. In this case my 10mm socket serves to push the bushing out and a 15mm socket on the other side supports the shock and provides room for the bushing to come out. A vice is used to provide the force needed. I normally start with a short socket and once the bushing is coming out switch to my 10mm long socket to push it all the way through.
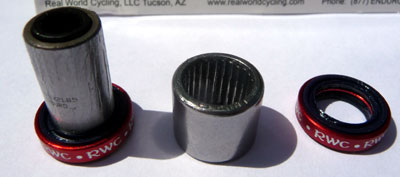
Another picture of the tools and end result:
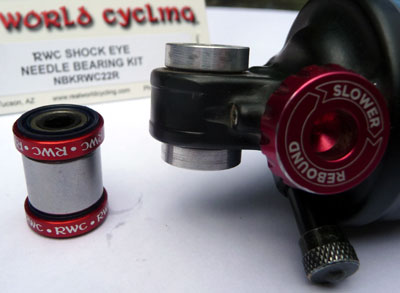
Step 3 - press in the needle bearing cage
Pull the needle bearing appart so that the needle bearing cage is now separate (the thing in the middle of the picture below):
Using the vice, press in the needle bearing cage into the shock. Use soft-jaws in the vice for this. Make sure the cage is properly centered in the shock eye.
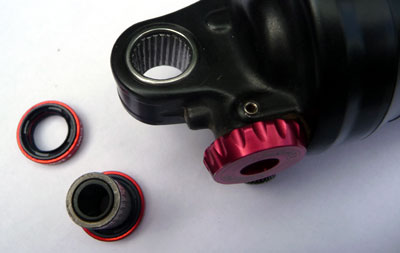
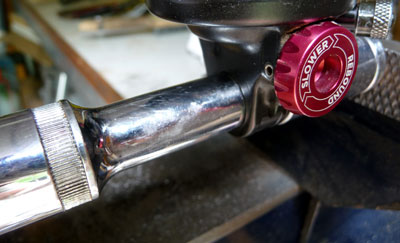
Step 4 - put the shock back in the bike
Shock ready to go back in:
Anthem X shock reassembly tips
The maestro linkage on the Anthem X cleverly uses the shock mounting bolt also as the linkage pivot. This makes it tricky to remount the shock because of the juggling of spacers, shock and linkages required.
The easiest way to do this I have found is:
- lie the bike on the left hand side (drive train facing up);
- insert the left shock spacer - gravity will keep it in place;
- insert the right shock spacer and hold it up with your left hand;
- slide the shock end between the spacers - it may take a but of wiggling, but once the shock starts to go between the spacers everything will stay together;
- insert the mounting bolt from the bottom up and move the linkages / shock as required to get things lined up.
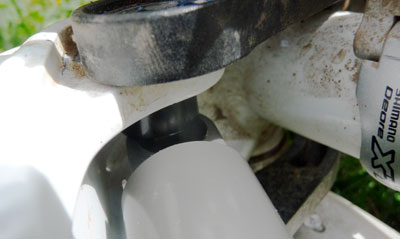
Here's a picture of the bike lying on its left hand side and the shock just starting to go between the spacers:
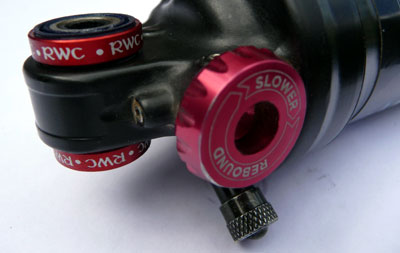
All done
Update - 17 November 2010
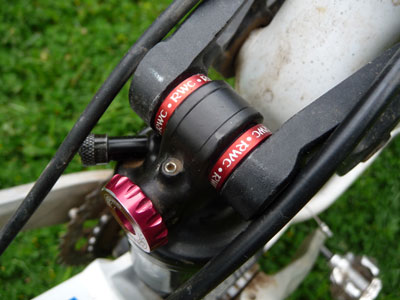
After putting about 200 off-road km on the shock bearing I noticed a knocking noise in the rear coming from the RWC needle bearing. Aside from the sound, you could feel some movement in the bearing.
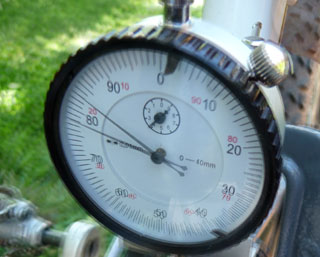
To cut through the BS, I measured the play in the bearing with my dial guage at just over 0.05mm which doesn't sound like a lot but is enough to create an audible 'clonk' in the rear suspension. The play shown in the picture is the difference between having the bike sitting on its rear wheel and then lifting the bike up by the seatpost so that the rear wheel is hanging free. If you push or pull on the rear wheel you can get much greater readings but they may not be accurate as flex in the linkages may come into play.
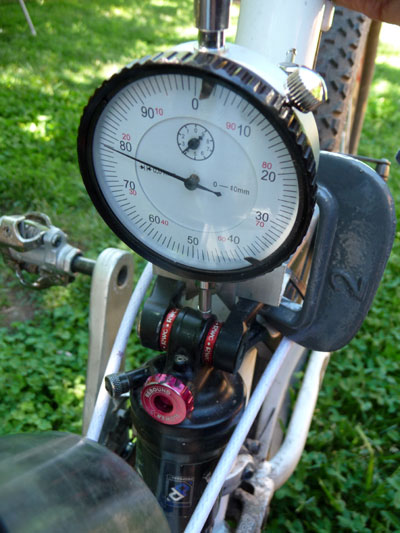
The two readings merged into one picture:
Stripping the bearing down reveals that the extra play is coming from (wear?) in the plastic/graphite? inner sleeve of the bearing. Visually you can see that the inner hole is off-centre:

One side's wall thickness measures 0.95mm and the other 1.1mm.
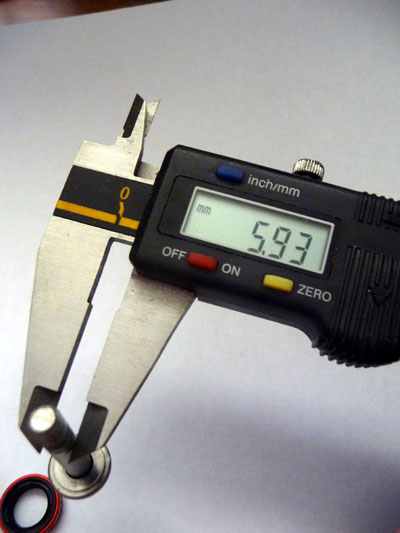
The stock Giant shock bolt is surface machined and has no measurable runout over its length. It measures a consistent 5.93mm over its length.
The needle bearing itself looks to be in good condition. You can just barely see some wear marks on the inner surface but no change in diameter is detectable with my micrometer.
The seals have done a great job and there is no moisture or dirt inside the bearing. The grease looks almost like new.
Update - December 2010
RWC sent me a new inner kit for the bearing. They had an issue with poor tolerances on the first sets of these. The new inners have sorted out the bearing tolerance issues.